Gunite Pool Shell Installation

Gunite Pool Shell Installation

Restoring a gunite pool, including installing new plaster, tile, and coping, can significantly enhance the appearance and functionality of your pool. Here’s a general overview of the process:

Excavated area for gunite pool installation with rebar framework and surrounding soil, illustrating the preparation process for pool construction.

Excavation and Forming the pool shape

Excavating a swimming pool is a significant undertaking that involves several important steps to ensure a successful and safe construction process. It’s important to note that excavation for a swimming pool is a complex process that requires careful planning, adherence to local regulations, and coordination among various contractors involved in the project. It’s often best to work with experienced professionals who specialize in pool construction to ensure a successful and efficient excavation process.

Rebar framework and plumbing pipes arranged in a gravel bed for gunite pool construction, illustrating the pre-plumbing and rebar installation process essential for a durable pool shell.

Pre-Plumbing and Rebar Installation

Both pre-plumbing and rebar installation are critical steps in the construction of a pool, laying the groundwork for a structurally sound and properly functioning pool. It’s important to ensure that both processes are carried out according to local building codes and industry best practices to ensure the safety and longevity of the pool. Gunite Restoration are experts in proper rebar installation.

Gunite being pneumatically sprayed onto the framework of a swimming pool, with workers applying the mixture in layers for the pool shell installation process.

Gunite Pool Shell Installation

Gunite Restoration are experts in the application of Gunite and Shotcrete. Once the framework is in place, the gunite mixture is pneumatically applied using a high-pressure hose and a special spraying gun. The gunite is sprayed onto the framework in layers, gradually building up the thickness of the pool shell of whatever shape the pool will be. This is extremely important step only to be trusted to true craftsmen like the crews of Gunite Restoration.

Workers applying gunite to a pool shell, showcasing the installation process for a durable and waterproof finish.

Pool Plastering: Smooth, Durable & Waterproof Finish

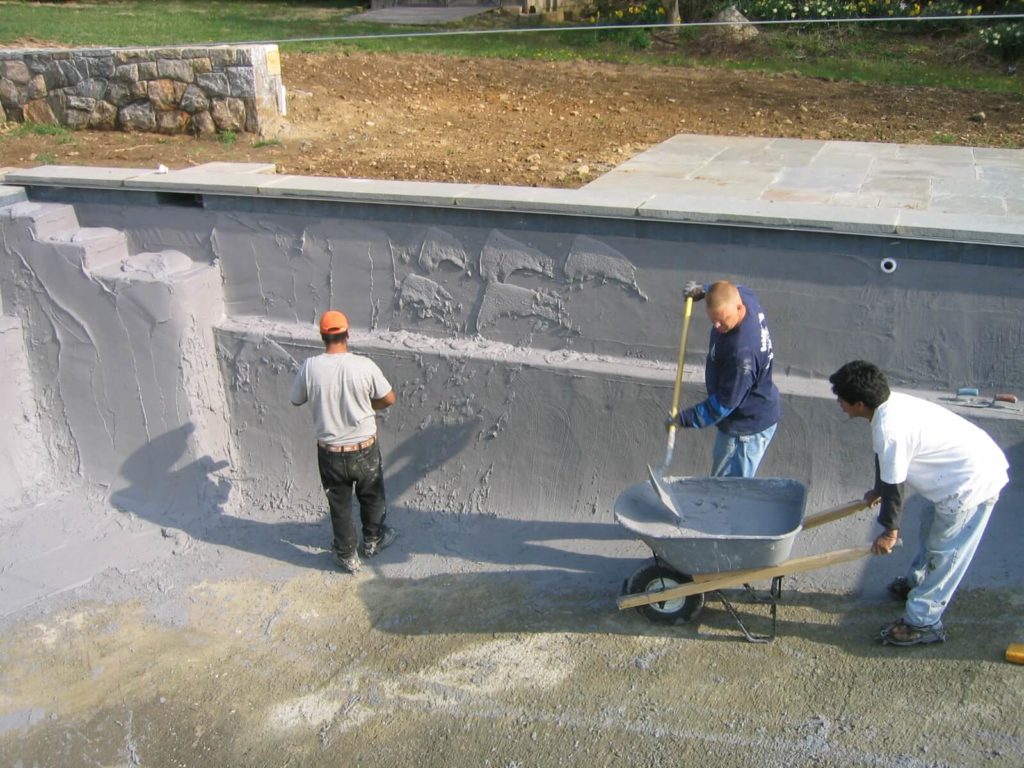
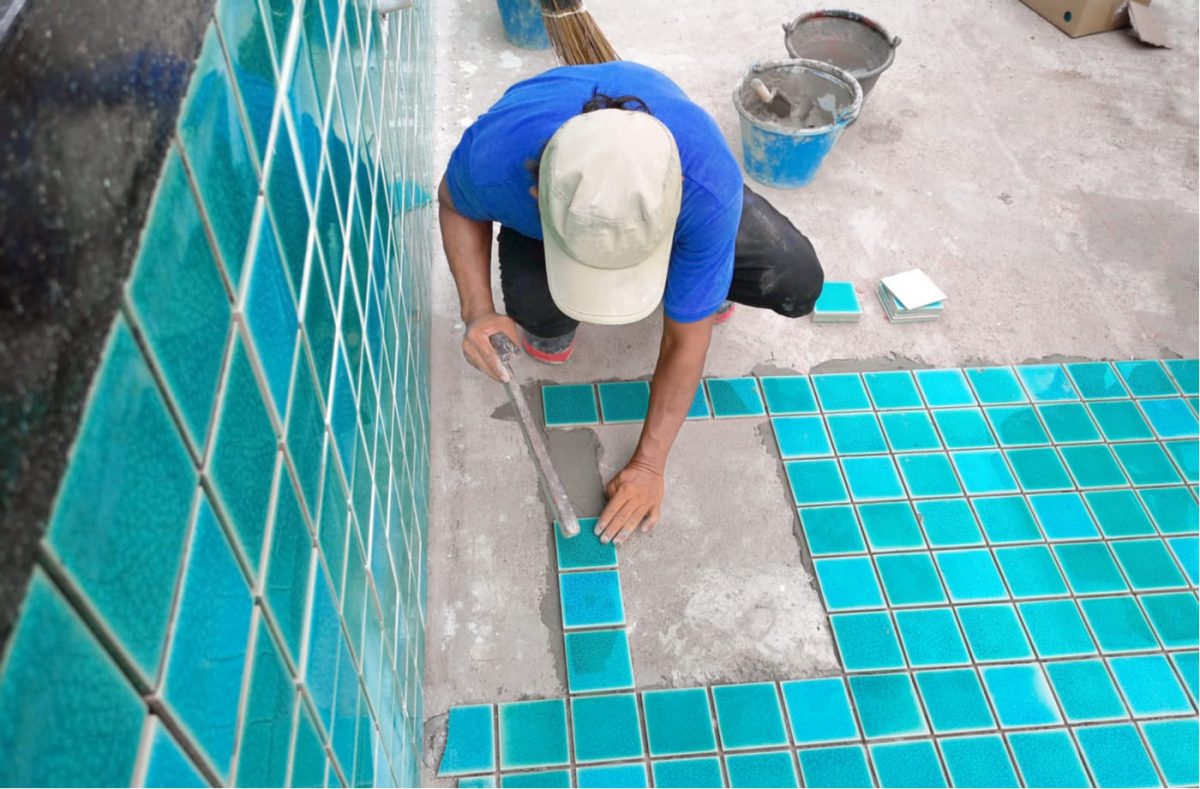
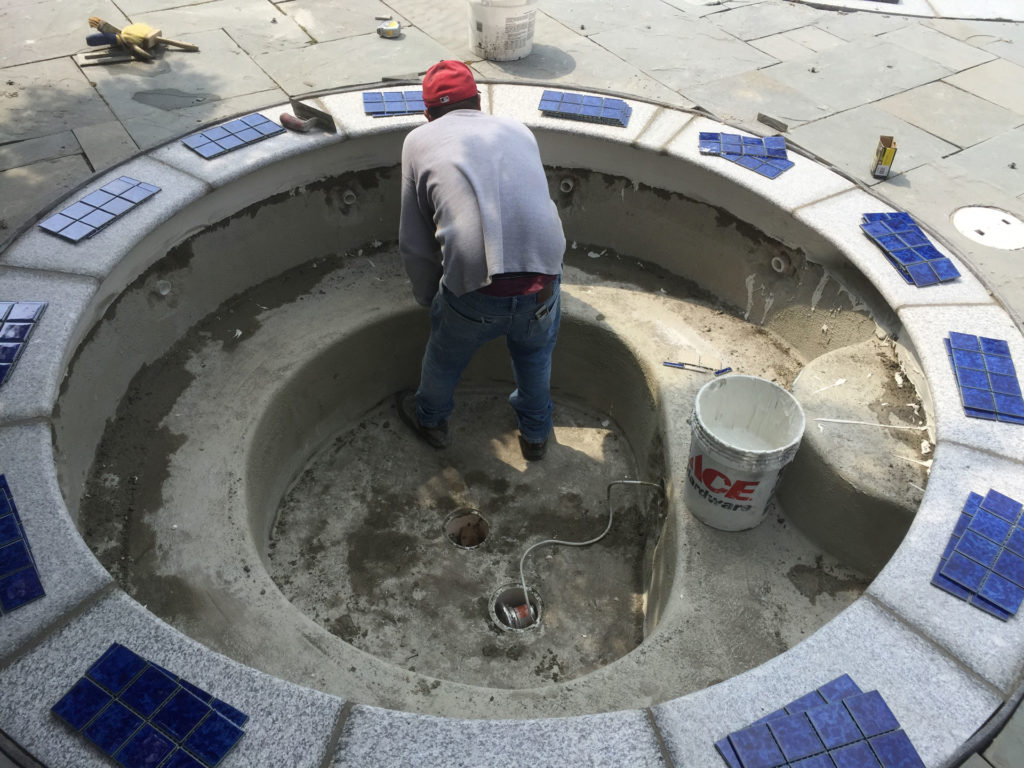
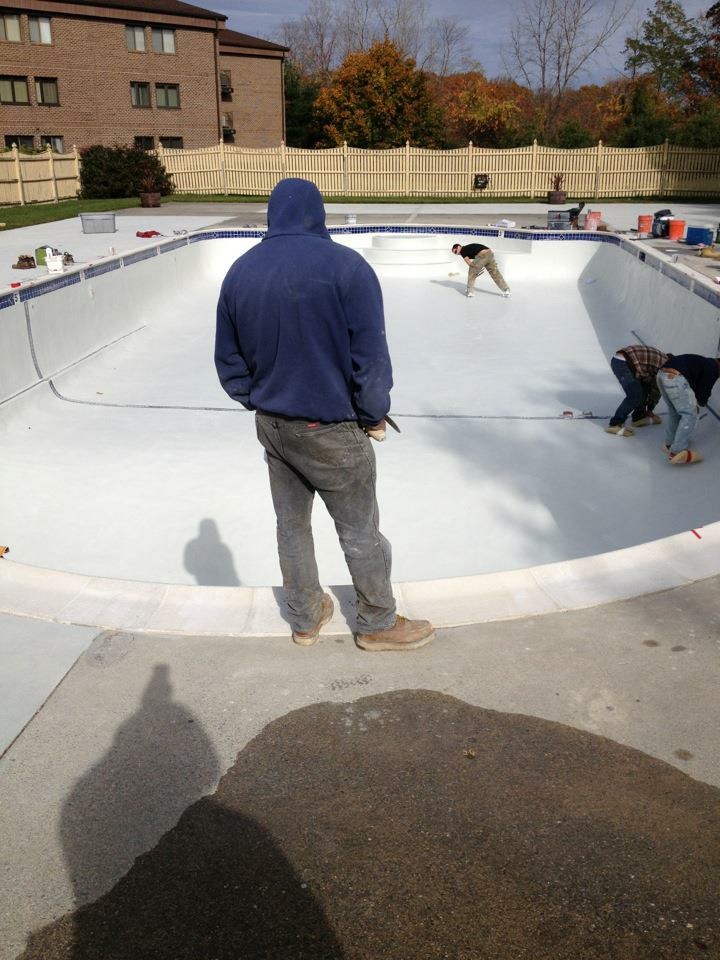
After the shell has been properly prepared, a new layer of plaster is applied to create a smooth, waterproof surface. This can be done using various materials, such as white plaster, colored plaster, or more durable options like pebble or quartz finishes.
Tile installation process for a gunite pool, featuring a worker laying turquoise tiles on the pool floor with tools and materials nearby.

Tiling

The next step is to install new tiles along the waterline and possibly on the pool’s steps and benches. Choose tiles that complement the overall design and aesthetic of your pool area.
Gunite pool shell in construction, showcasing the framework, steps, and smooth surface preparation, surrounded by a natural setting, emphasizing the gunite application process.

Coping Installation

Coping is the material that caps the pool shell wall. It serves both a practical and aesthetic purpose. There are various materials for coping, including natural stone, concrete, or brick. Choose a material that complements your pool’s design and surroundings.

Gunite pool shell under construction, featuring a smooth, textured surface, with visible plumbing fixtures and workers in the background, emphasizing the installation process.

Gunite Shell Curing Process:

The curing process for a gunite pool shell is a critical step in the construction of a durable and long-lasting pool. Gunite is a mixture of cement, sand, and water that is sprayed onto a framework of rebar or steel reinforcing rods to create a strong, solid pool shell. Proper curing is essential to ensure that the gunite achieves its maximum strength and durability.

Gunite pool shell under construction with visible plumbing lines and surrounding excavation, illustrating the pool installation process.

Pool Plumbing

Pool Plumbing would be the next step while the shell is curing. Pool Plumbing should be pressurized once all the plumbing is installed to ensure no leaks in the plumbing. This pressurization should be kept in the system while the pool gets backfilled and graded for pool decking.

Worker installing blue tile coping around a gunite pool shell during the pool construction process, with tools and materials visible on-site.

Pool Tile and Coping Installation

It’s important to note that pool tile and coping installation can be a complex process, and it’s often best to hire professionals with experience in this type of work to ensure a high-quality result such as the crews from Gunite Restoration. Additionally, local building codes and regulations should be followed to ensure the safety and compliance of the installation.

Man in hoodie overseeing pool plaster installation, with workers applying finishing touches to the pool surface, showcasing the renovation process by Gunite Restoration.

Pool Plaster Installation

Installing plaster on a new pool is an important step in the pool construction process. It’s important to note that pool plaster installation is a specialized task that requires skill and experience Such as the highly experienced crews of Gunite Restoration. It’s often best to hire a professional pool contractor with experience in plaster installation to ensure the job is done correctly. Additionally, proper maintenance and care of the plastered pool surface are important to ensure its longevity and durability.